Difference between revisions of "JBrowse2 Tutorial PAG 2022"
(→Adding a gene track from tabix-indexed GFF) |
(→Adding a gene track from a JBrowse (NCList) track) |
||
| Line 126: | Line 126: | ||
Difference between web and desktop | Difference between web and desktop | ||
| − | |||
| − | |||
==Adding variant data from a tabix-indexed VCF== | ==Adding variant data from a tabix-indexed VCF== | ||
Revision as of 19:21, 29 November 2022
Contents
Prerequisites
- NodeJS
Installed using the instructions on Nodejs.org:
curl -fsSL https://deb.nodesource.com/setup_18.x | sudo -E bash - &&sudo apt-get install -y nodejs
- A web server (Apache2 in this instance, but any will do). I enabled the "userdir" mod so we could all use the same machine for the tutorial:
 sudo a2enmod userdir
 sudo /etc/init.d/apache2 restart
Things done just for this tutorial
- A script to create several users with
public_htmldirectories (link for when it exists) - Already installed the JBrowse command line interface (CLI) via the directions (i.e.,
sudo npm install -g @jbrowse/cli) - Installed bgzip, tabix, samtools and minimap2 via apt:
sudo apt-get install samtools tabix minimap2. - Created a bgzipped and samtools faidx'ed FASTAs file for C. elegans and C. brenneri.
- Created a "Genes only" C. elegans GFF file (
gzip -dc c_elegans.PRJNA13758.WS286.annotations.gff3.gz | grep "\tWormBase\t" > c_elegans.genes.gff3
Initializing JBrowse
First, use ssh to connect to the instance we have set up for this tutorial, tutorialpag30.jbrowse.org. Do this with the user name and password you got from one of us (we have 50 users configured--hopefully that will be enough!):
ssh username@tutorialpag30.jbrowse.org
and supply the password. When you log in, you'll be in your user's home directory, where there is nothing but a public_html directory. That directory is also currently empty, so we'll use the JBrowse CLI to initialize a new JBrowse instance:
jbrowse create public_html
Now change to that directory, cd public_html and do a file list to make sure it looks right:
put a picture here File:Public html listing.png
This is all of the software required to run JBrowse. If we now navigate to the tutorial machine's website with the port supplied on the username/password slip, you should see a page indicating that JBrowse was installed but not configured: http://tutorialpag30.jbrowse.org:XXXX/.
To make sure it really works, we can click on the Volvox (not really Volvox) data set.
To get started creating our JBrowse instance, we'll run the JBrowse admin-server, which looks just like JBrowse proper, but has an extra admin menu. Important note: The admin server is NOT meant to be left running; it is not particularly secure, so if you leave it up, somebody might start messing with your site. To start the admin server, we change to the directory where JBrowse will be served from (public_html) and run the jbrowse command to start it:
jbrowse admin-server -p YYYY
When we execute that command, we get a message in the terminal that it started up and gives us some URLs to use to access the server. It will look something like this:
The part we need is the adminKey. In a browser window, enter a URL that looks like this: http://tutorialpag30.jbrowse.org:YYYY?adminKey=yourkey
Adding a reference sequence
The first thing we need to do is add a reference sequence. There is already one prepared and on the web server for C. elegans and it is at
 http://tutorialpag30.jbrowse.org/c_elegans.PRJNA13758.WS286.genomic.fa.gz
 http://tutorialpag30.jbrowse.org/c_elegans.PRJNA13758.WS286.genomic.fa.gz.fai
 http://tutorialpag30.jbrowse.org/c_elegans.PRJNA13758.WS286.genomic.fa.gz.gzi
To create this indexed reference sequence, the fasta was downloaded from the WormBase ftp site, and after uncompressing it, it was bgzipped and then indexed with SAMTools:
 bgzip c_elegans.PRJNA13758.WS286.genomic.fa
 samtools faidx c_elegans.PRJNA13758.WS286.genomic.fa.gz
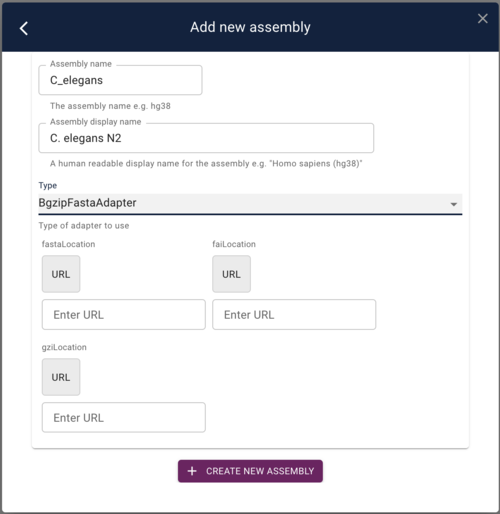
To add this as a reference sequence to JBrowse, click on the "Start a new session" and then on the resulting page, select "Open assembly manager" from the Admin menu. In the dialog that opens, click the "Add new assembly" button. Finally, in add assembly dialog, put something useful in the "Assembly Name" field and then select "BgzipFastaAdapter" from the "Type" menu. At that point, the dialog will change slightly to give you places to put in the above three URLs:
Copy and paste those URLs in to the appropriate fields and then click "Save new assembly."
  Note: this is one place where the web version of JBrowse with the admin server is slightly
  different from the Desktop version: if we were using the desktop version, the above dialog
  would have also given the option for finding the files on a local hard drive rather than
  only allowing URLs.

  Another note: In order for the above URLs to work with a web instance of JBrowse that
  isn't on the "same" server (where different ports == a different server), CORS (cross
  origin resource sharing) had to be enabled for the web server (in this case apache).
  If you want to do the same thing for a server you control, google "enable CORS <your
  server software name>" to find directions.
Adding a gene track from tabix-indexed GFF
Magic incantation for sorting GFF3 files, and then bgzipping it:
sort -t"`printf '\t'`" -k1,1 -k4,4n c_elegans.genes.gff3 |bgzip > c_elegans.genes.sorted.gff3.gz
and then tabix indexing it:
tabix c_elegans.genes.sorted.gff3.gz
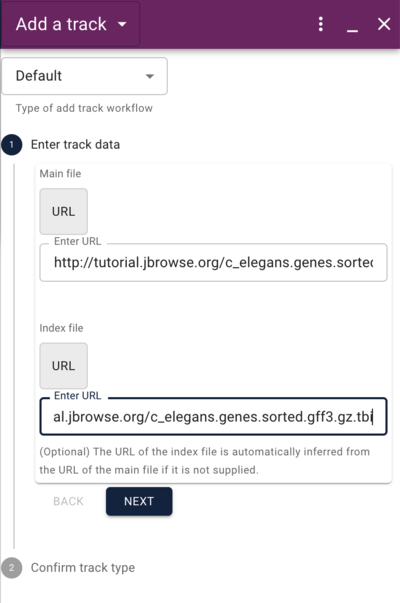
 http://tutorialpag30.jbrowse.org/c_elegans.genes.sorted.gff3.gz
 http://tutorialpag30.jbrowse.org/c_elegans.genes.sorted.gff3.gz.tbi
Adding a gene track from a JBrowse (NCList) track
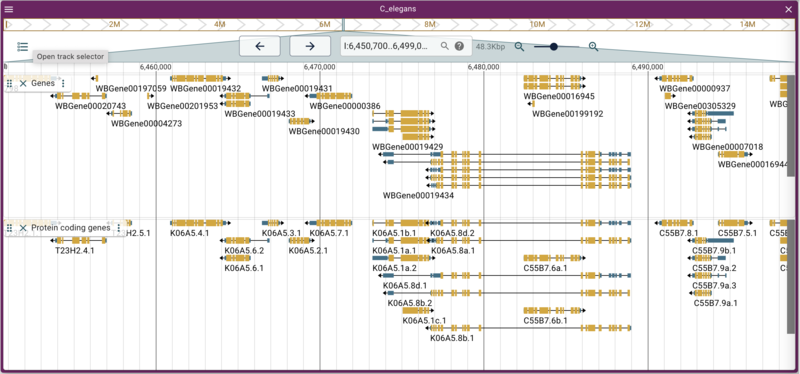
Protein coding genes from WormBase's JBrowse 1 instance
https://s3.amazonaws.com/agrjbrowse/MOD-jbrowses/WormBase/WS286/c_elegans_PRJNA13758/tracks/Curated Genes (protein coding)/{refseq}/trackData.jsonz
Side note: finding JBrowse 1 data
CORS
Difference between web and desktop
Adding variant data from a tabix-indexed VCF
https://storage.googleapis.com/elegansvariation.org/releases/current/WI.current.soft-filtered.vcf.gz
Adding quantitative data from a BigWig
https://data.broadinstitute.org/compbio1/PhyloCSFtracks/ce11/latest/PhyloCSF+1.bw
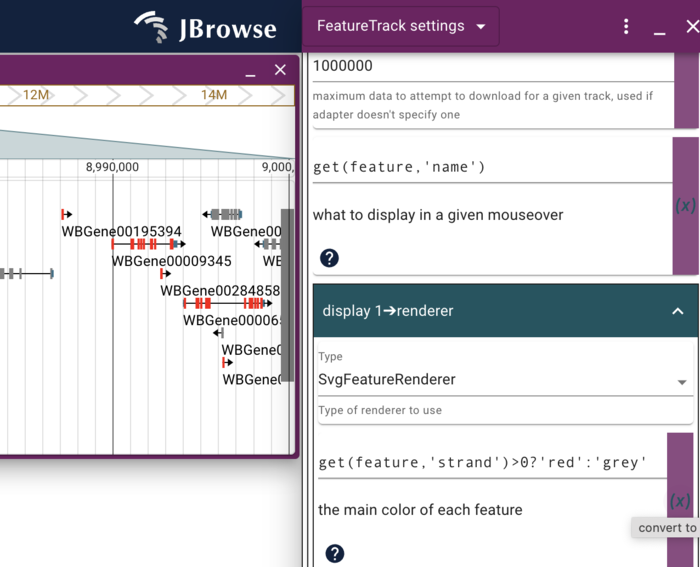
Using JEXL to modify the display
Dynamically changing the color
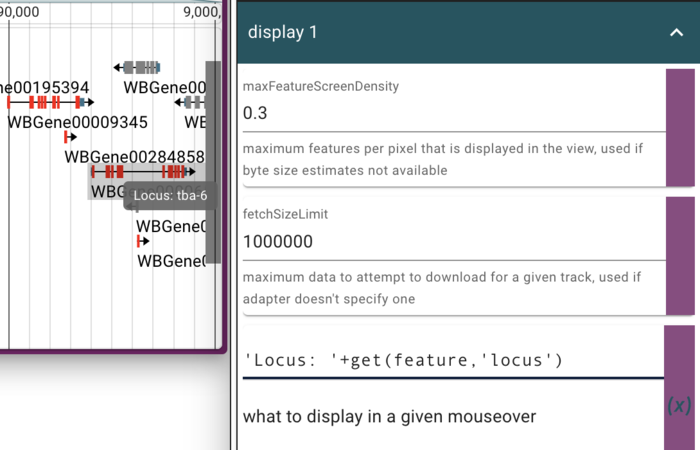
Dynamically changing the mouseover text
Synteny
Getting the data
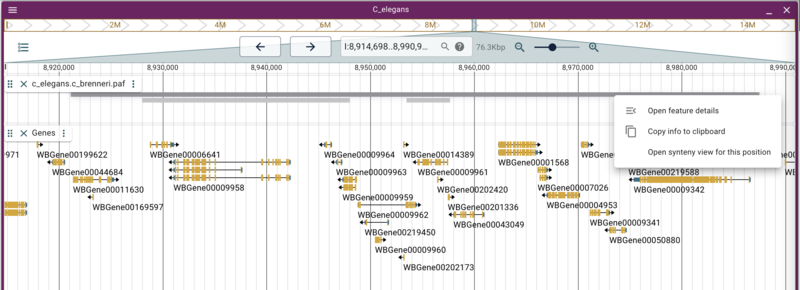
To compare two genomes, first we need a second genome. Fortunately, WormBase.org provides several assemblies for species related to C. elegans. For this tutorial, we'll use C. brenneri. As before, we create a new assembly in JBrowse with the indexed fasta files provided on the tutorial machine (Admin menu -> open assembly manager):
 http://tutorialpag30.jbrowse.org/c_brenneri.PRJNA20035.WS287.genomic.fa.gz
 http://tutorialpag30.jbrowse.org/c_brenneri.PRJNA20035.WS287.genomic.fa.gz.fai
 http://tutorialpag30.jbrowse.org/c_brenneri.PRJNA20035.WS287.genomic.fa.gz.gzi
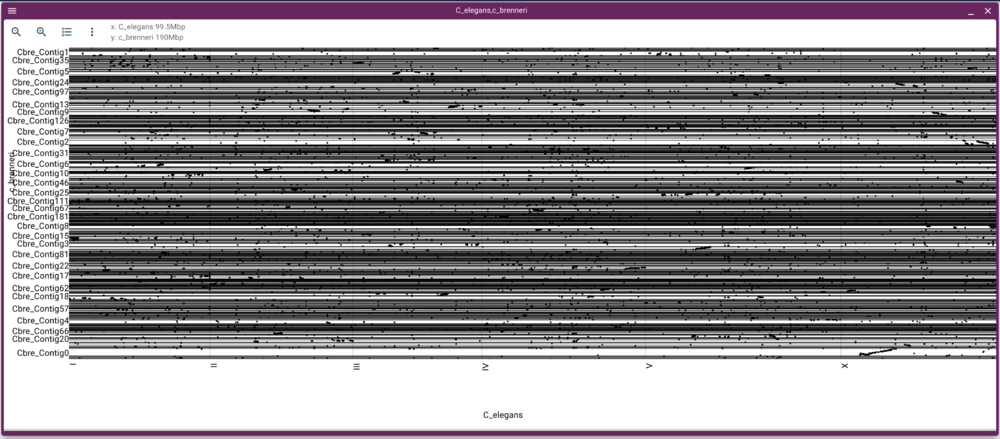
minimap2 c_elegans.PRJNA13758.WS282.genomic.fa.gz c_brenneri.PRJNA20035.WS287.genomic.fa.gz > c_elegans.c_brenneri.paf
Configuring with jbrowse admin
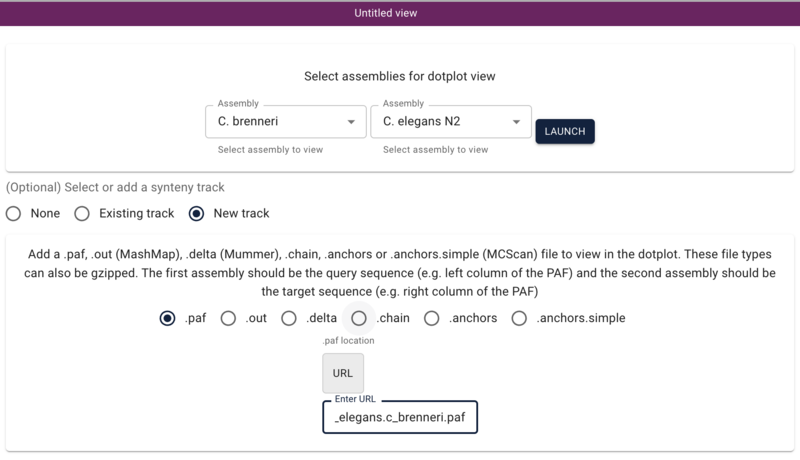
http://tutorialpag30.jbrowse.org/c_elegans.c_brenneri.paf


